UIBezierPathは図形などを簡単に描画できます
基本的な使い方
UIViewを継承したクラスを作成
まずはカスタムクラスを作成します
import UIKit

class DrawView: UIView {
    override func draw(_ rect: CGRect) {
        // 三角形
        let bezierPath = UIBezierPath()
        // 開始位置
        bezierPath.move(to: CGPoint(x: 100, y: 100))
        // 頂点位置
        bezierPath.addLine(to: CGPoint(x: 100, y: 200))
        bezierPath.addLine(to: CGPoint(x: 200, y: 150))
        // 終了
        bezierPath.close()
        // ライン幅
        bezierPath.lineWidth = 10
        // 色
        UIColor.red.setStroke()
        // 描画
        bezierPath.stroke()
    }
}
下記のように使用します
import UIKit

class ViewController: UIViewController {

    override func viewDidLoad() {
        super.viewDidLoad()

        let triangleView = DrawView()
        triangleView.frame = CGRect(x: 0, y: 0, width: self.view.bounds.width , height: self.view.bounds.height )
        self.view.addSubview(triangleView)

    }
}
これを実行すると下記の画像のように赤い三角形が表示されます

これを元にしてカスタムViewを改造すると四角形でも五角形でも作成可能です
改良したカスタムView
import UIKit

class DrawView: UIView {

    var paths:[CGPoint] = []

    init(paths:[CGPoint]) {
        super.init(frame: CGRect() )
        self.paths = paths
    }

    required init?(coder: NSCoder) {
        fatalError("init(coder:) has not been implemented")
    }

    override func draw(_ rect: CGRect) {
        // 三角形
        let bezierPath = UIBezierPath()
        // 開始位置
        let first = paths.removeFirst()
        bezierPath.move(to: first)
        // 頂点位置
        for path in paths {
            bezierPath.addLine(to: path)
        }
        // 終了
        bezierPath.close()
        // ライン幅
        bezierPath.lineWidth = 10
        // 色
        UIColor.red.setStroke()
        // 描画
        bezierPath.stroke()
    }
}
これを下記のようにUIViewController側から使用します
class ViewController: UIViewController {

    override func viewDidLoad() {
        super.viewDidLoad()

        let paths:[CGPoint] = [
            CGPoint(x: 100, y: 100),
            CGPoint(x: 100, y: 200),
            CGPoint(x: 200, y: 150),
            CGPoint(x: 200, y: 50)
        ]

        let triangleView = DrawView(paths: paths)
        triangleView.frame = CGRect(x: 0, y: 0, width: self.view.bounds.width , height: self.view.bounds.height )
        self.view.addSubview(triangleView)

    }
}
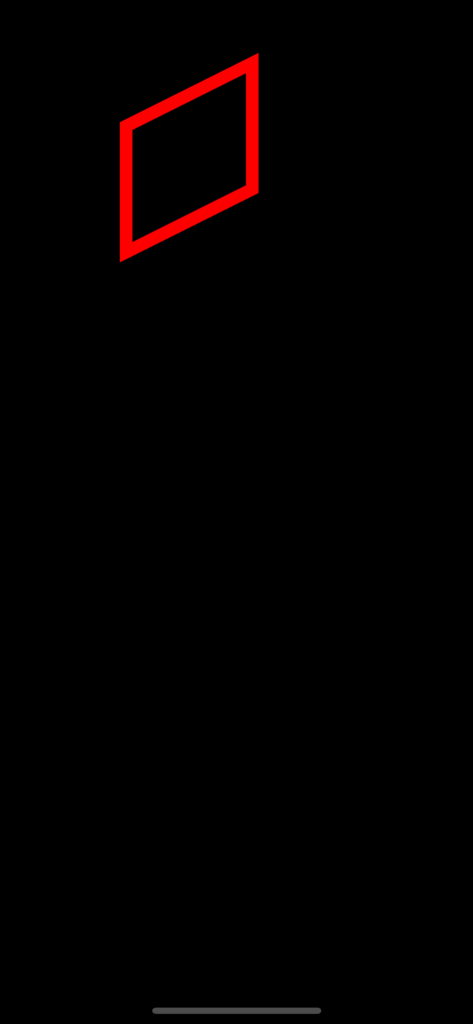
実行すると下記のように四角形が表示されます

「ViewController」のpathsで描画位置を指定していますので数を増やせば5角形でも描画できるようになります。
もう少しいじれば色の設定等も可能です
